
This is part of a Digital Differentiation model, my way i of weaving a web of flexible tools together for teaching and learning. To keep the model relevant, frequent updates are required, as new tools and trends emerge.
To access the most current resources, please click on the tab at the top of this blog:
Digital Differentiation – Current
Updating
Ten months ago I published a Digital Differentiation model on this blog. I’ve been using the model to guide the work I do each day and I’ve been sharing it via webinars and hands-on training sessions.
Of course, ten months is a long time in the world of edtech, and I’ve added some new tools and resources to my personal teaching toolkit, so I decided it was time to update the model and tweak it just a bit. The original article and interactive graphic can still be found on this blog. Here is the new post:
Technology is a tool that can be used to help teachers facilitate learning experiences that address the diverse learning needs of all students and help them develop 21st Century Skills, an idea supported by the Common Core.
At it’s most basic level, digital tools can be used to help students find, understand and use information. When combined with student-driven learning experiences fueled by Essential Questions offering flexible learning paths, it can be the ticket to success. Here is a closer look at three components of effectively using technology as a tool for digital differentiation.
The goal is to design student-driven learning experiences that are fueled by standards-based Essential Questions and facilitated by digital tools to provide students with flexible learning paths.
3 Components:
 |
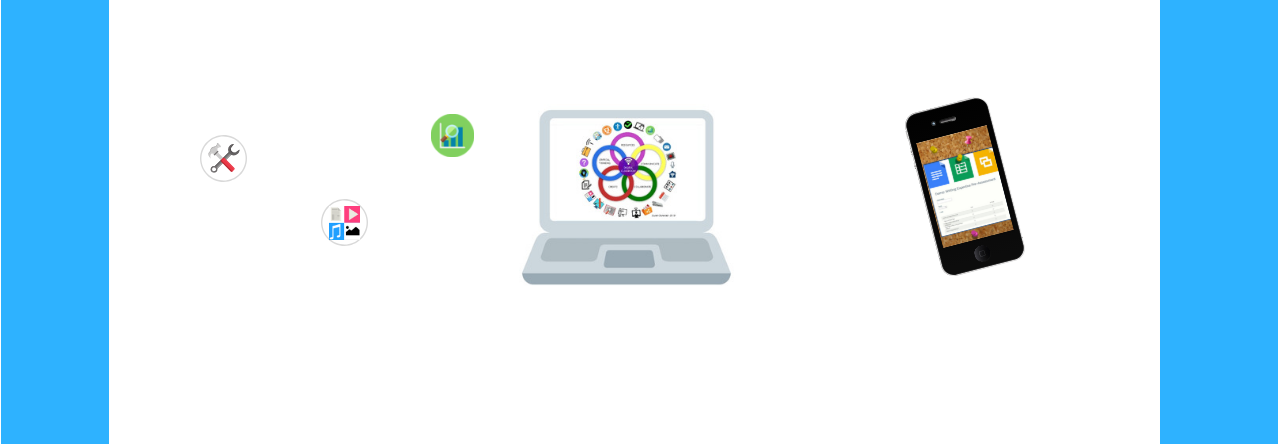
Essential Questions
Click on the tiny circles in the graphic for more information.
 //cdn.thinglink.me/jse/embed.js
Flexible Learning Paths

Teacher as Facilitator


